Billboards are meant to attract the attention of people on the road to advertise products and services, to send out a social message or to campaign for a cause. There is no reason why you can’t use billboards the same way in your presentations. In this tutorial we will show you how to create an animated billboard in PowerPoint.

Making an Animated Billboard using a Billboard Image
Step 1: Insert a billboard image or frame. In the first step, add an image or frame depicting a billboard to your slide. You can insert images to PowerPoint slides either via drag and drop or by going to Insert –> Images –> Pictures.
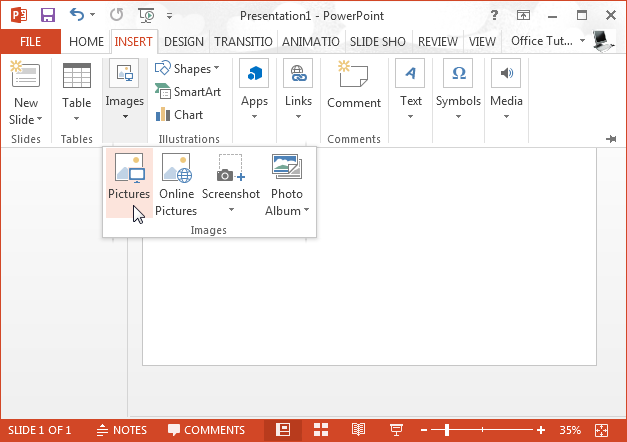
Step 2: Adjust added image. As we are using PowerPoint 2013, it gives more options than legacy PowerPoint editions. Depending upon your PowerPoint version you should be able to add pictures from online and offline sources. Once your image has been added, resize to adjust it on your slide.
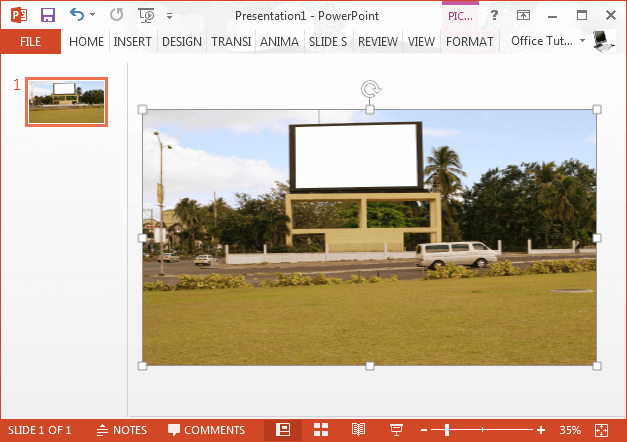
Step 3: Add overlay content. In the next step, add overlay content for your billboard. This can include an image, chart or diagram that you might be willing to display within the billboard. For the purpose of this post we used an image to use with the billboard.
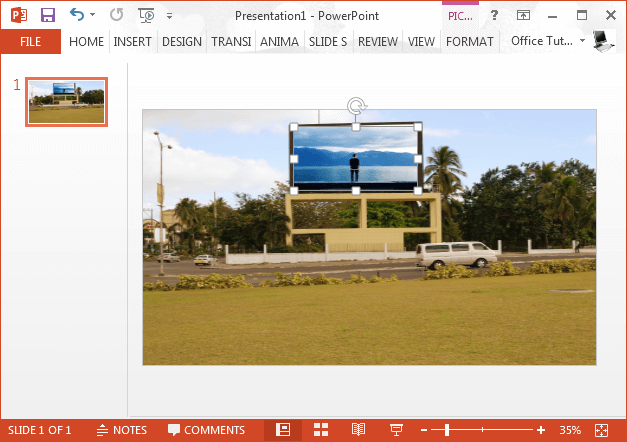
Step 3: Animate the inner image/content. Click the image or other type of added content and go to Animations –> Add Animations and pick an animation effect. For a billboard, the Random Bars animation effect might be most suitable since this type of effect resembles how real digital billboards switch between different advertisements by shuffling the images.
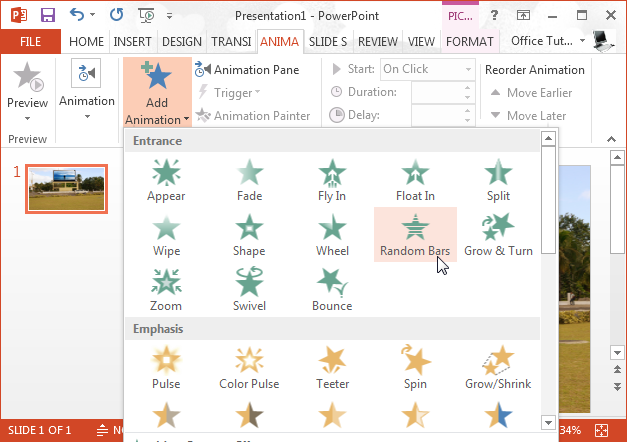
Step 4: Preview your animation. To preview your animation either run the slide in Slide Show mode or go to the Animations Pane in the Animations tab to Play the animation or click the Preview option.
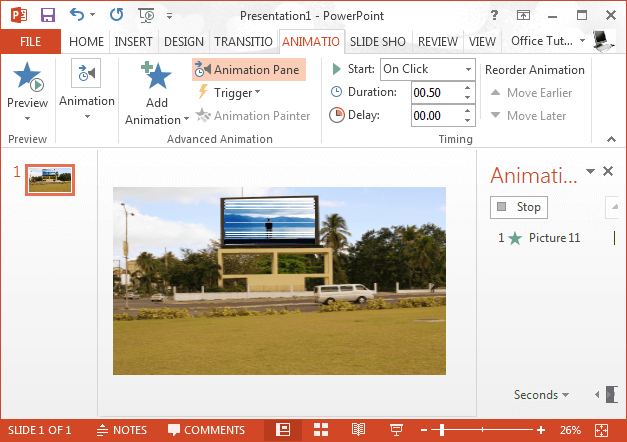
As you can see from the image below, the random bars animation resembles a real electronic billboard revealing an image. You can also add two overlay images on top of each other to make this effect more realistic.
Below is another example of how you can create your own animated billboards in PowerPoint.
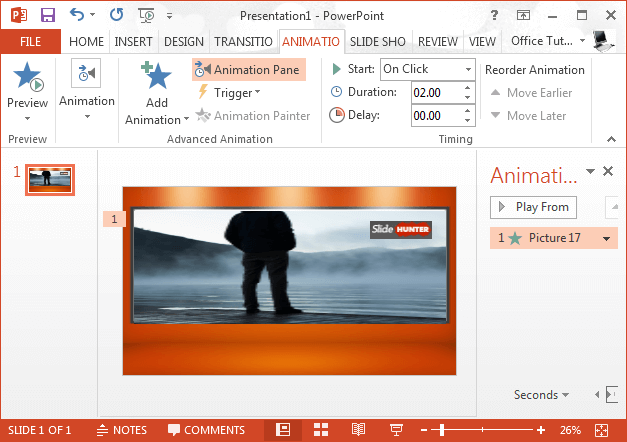
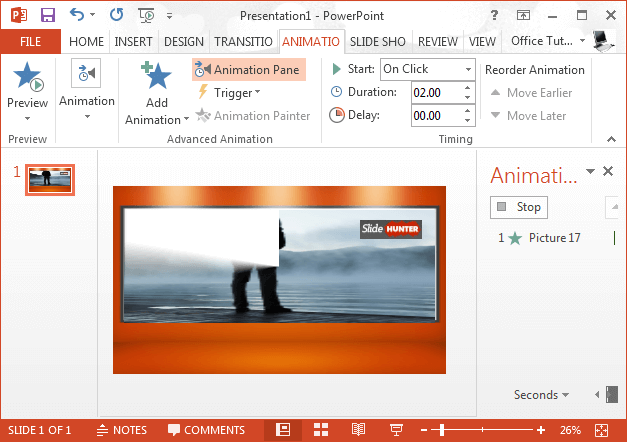
We used a billboard frame, inserted an image to it and added the Wheel animation to the overlay image.
Making an Animated Billboard using Charts in PowerPoint
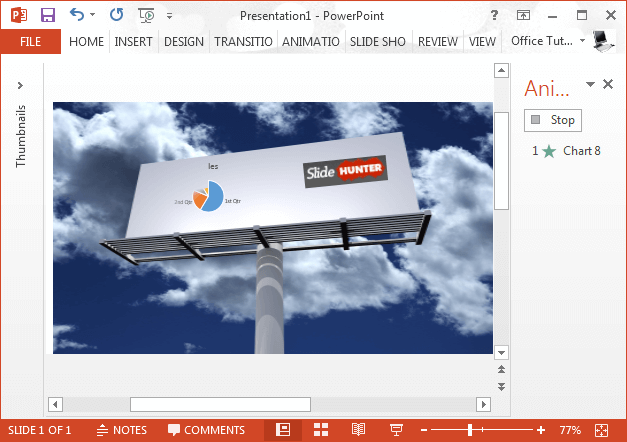
Similarly, you can also add charts, diagrams and clipart to billboards and animate them. We added a pie chart and animated it using the Wheel effect.
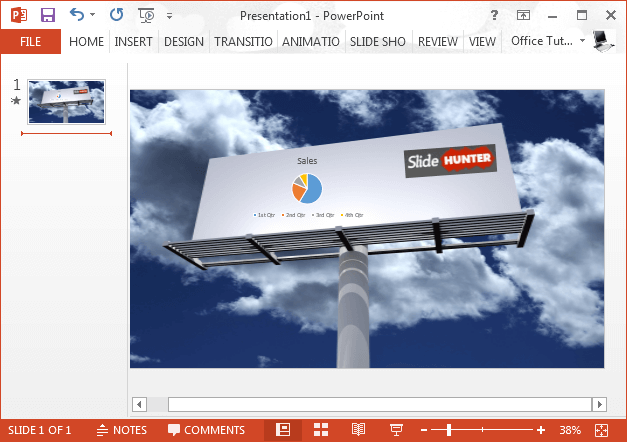
The below image shows the Wheel effect in action while revealing the pie chart in PowerPoint.
With the aid of this basic guide you can create your own animated billboards for PowerPoint presentations with endless customization possibilities. You can also use options within the Animations tab to set the time for your animations, as well as to activate animations on mouse-click or automatically.
