Integration of artificial intelligence tools like Copilot in PowerPoint has opened new possibilities for creativity and efficiency.
Whether you’re preparing for a corporate meeting, academic lecture, or any other event that requires a presentation, Copilot for PowerPoint can transform your approach. Here’s a step-by-step guide on how to add Copilot to PowerPoint and start using it for making presentations.
Step 1: Check for Office 365 Subscription
Before you begin, ensure that you have an active Office 365 subscription. Copilot integrates to the Microsoft 365 suite, and accessing its features requires a valid subscription. If you haven’t subscribed yet, visit the official Microsoft 365 website to choose a plan that suits your needs.
Step 2: Update PowerPoint to the Latest Version
To enjoy the full benefits of Copilot, your PowerPoint application must be up to date. Microsoft frequently updates its Office applications to include new features and improve security. You can update PowerPoint through the Office 365 portal or the PowerPoint application itself, usually found under the “Account” or “File” > “Account” section, then under “Office Updates”.
Step 3: Add Copilot to PowerPoint
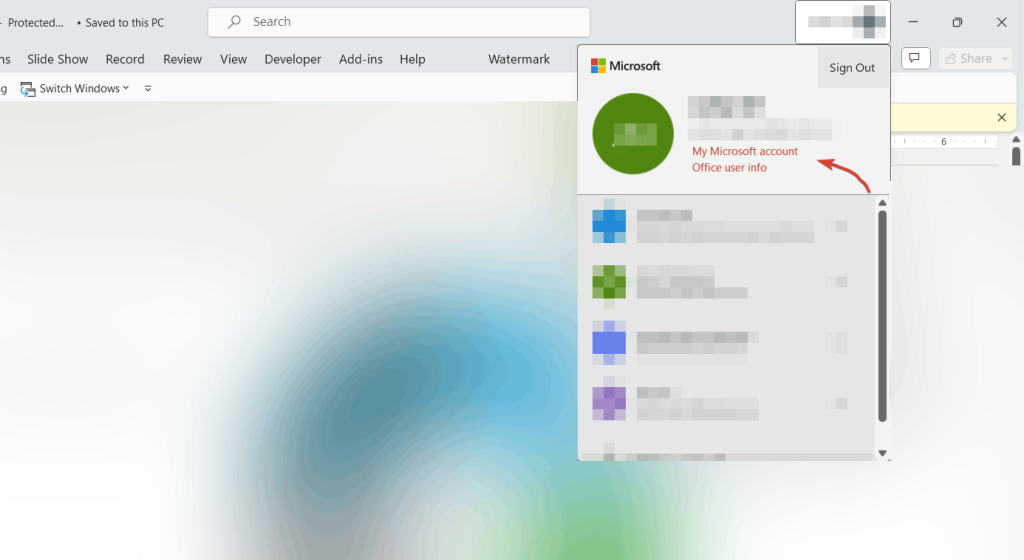
Go to https://account.microsoft.com/ and look for the Get Copilot Pro option.
Click on Get Copilot Pro (at the time of writing this article, the cost is $20/month/user).
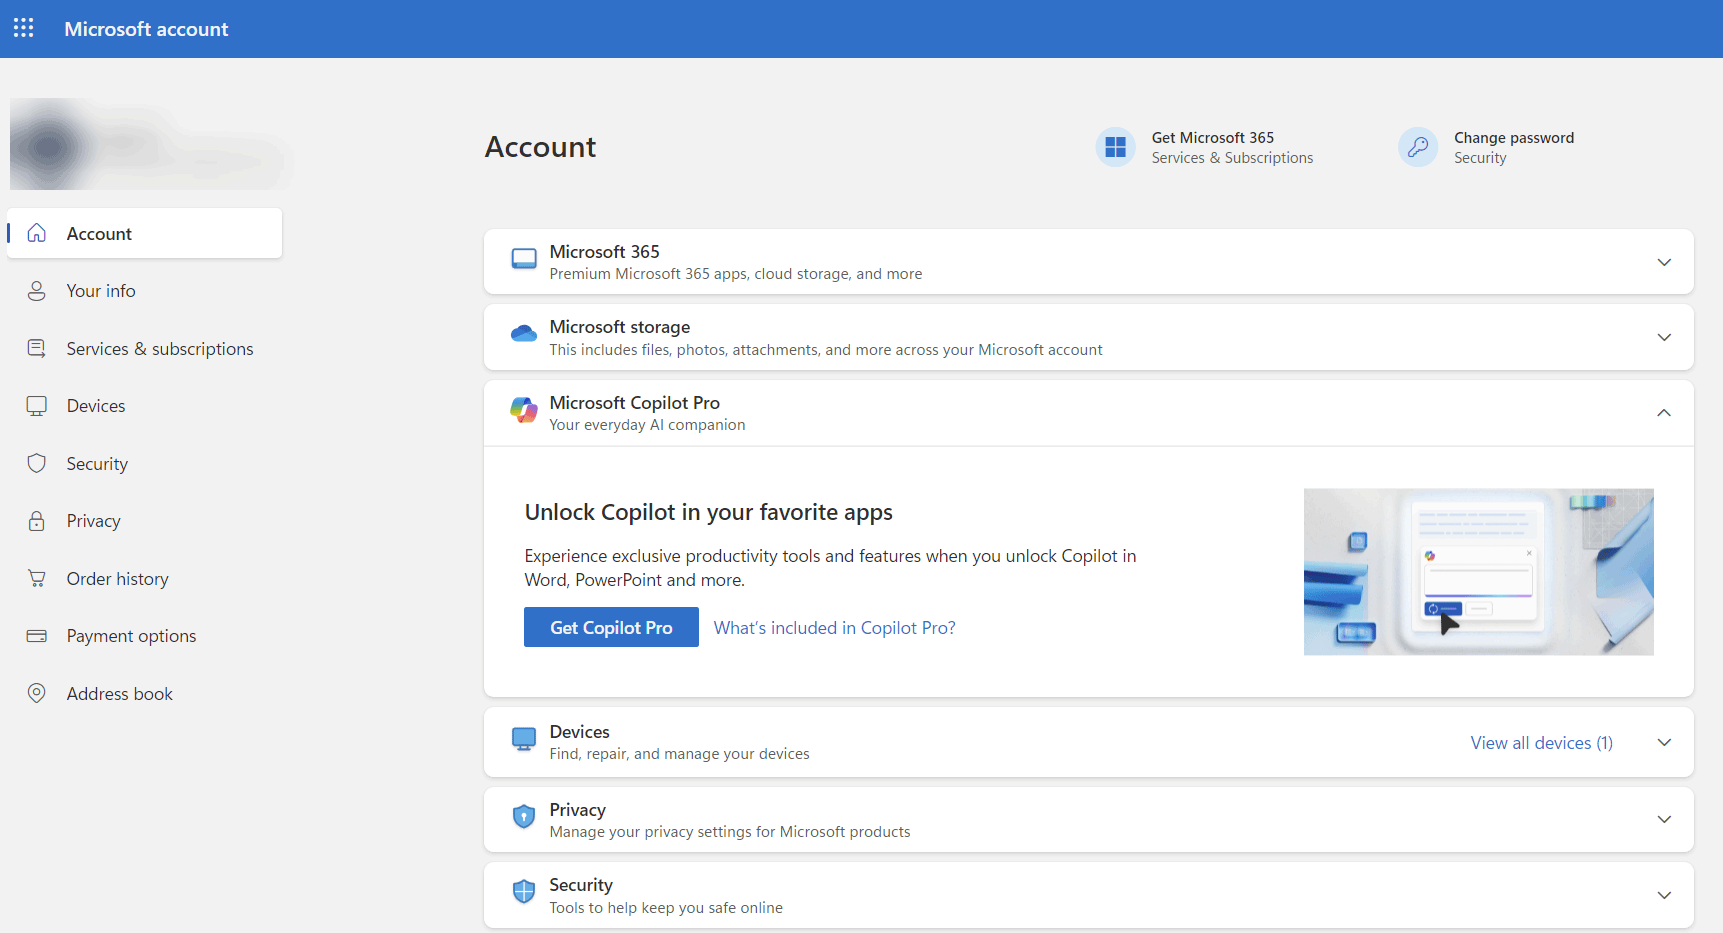
Follow the confirmation steps to review your purchase and Copilot Pro will be added to Microsoft Office programs (PowerPoint, OneNote, Excel, Outlook).
Integrating Copilot into PowerPoint presentations is a game-changer, allowing you to leverage AI for creative and efficient presentation design. By following the steps outlined above, you can unlock the full potential of your presentations, making them more engaging, informative, and visually appealing. As AI technology continues to evolve, the possibilities for enhancing your presentations will only grow.