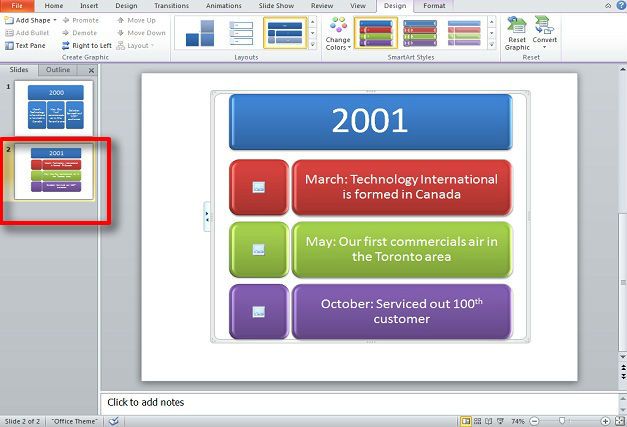
In this tutorial we will create a simple timeline in PowerPoint using SmartArt. Before start it should be noted that this follows the same format as the flowchart only the date of each part of the chart is the main focus. This means there’s nothing particularly complex to creating your timeline using this method.
To start have your pictures (if you need them) and your timeline with pivotal events written out. While in PowerPoint, go to Insert and SmartArt.
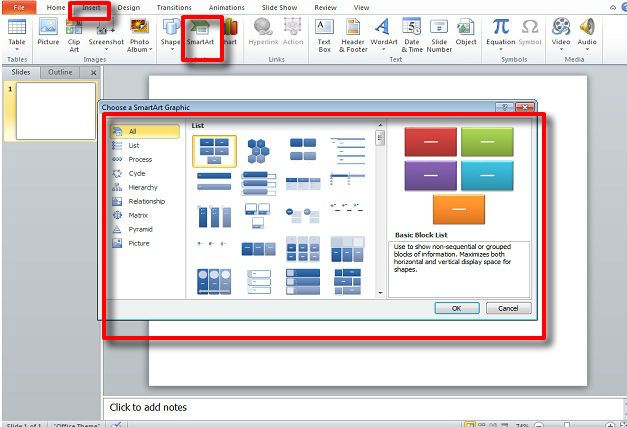
While you can use any graphic available here, there a few main ones ready for your timeline that will require very little editing outside of adding pictures, text, and copying/pasting an extra part if needed.
The first is Text Picture Accented List—which can be found in All, List, and Picture categories.
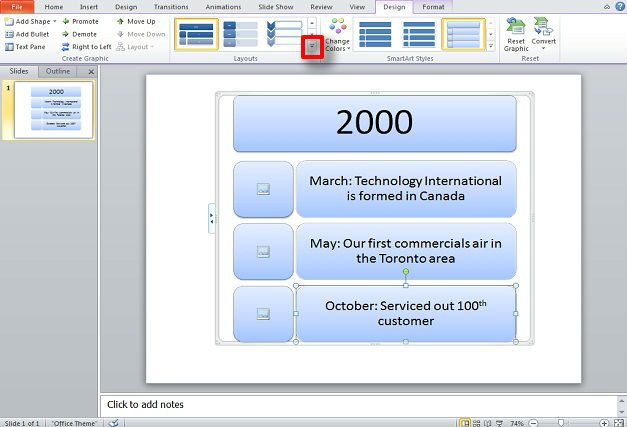
You will need to add pictures if needed and you can copy and paste the available shapes for more months, dates, etc. You’ll notice that there are several layouts available. Click the corner drop down box for more layouts.
By moving your mouse over them you’ll see an example of how your timeline would look in the Page view without clicking and confirming the layout.
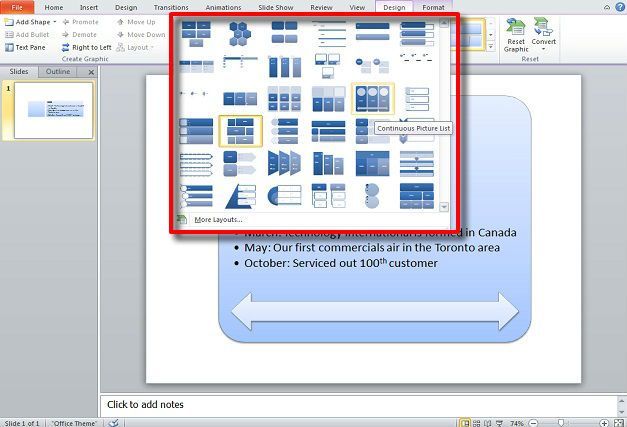
The next layout for your PowerPoint timeline is the Table Hierarchy layout—which can be found in the All, List, Hierarchy, and Relationship categories. It offers a straightforward text setup without needing pictures.
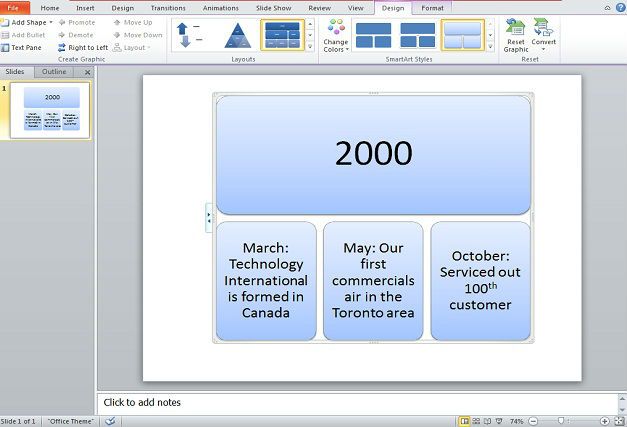
Once the layout has been selected and text and pictures have been added, just edit the colors and font style as desired.
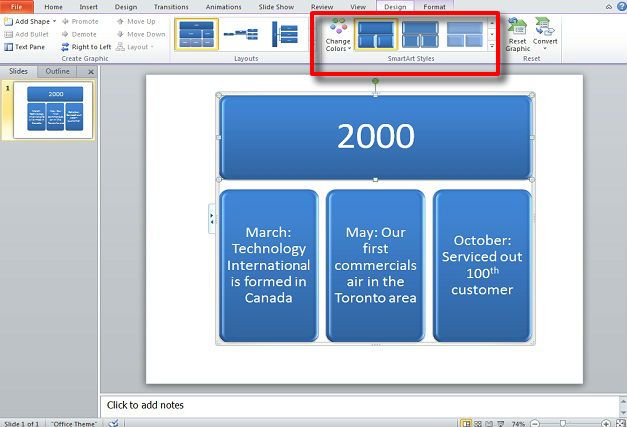
Most layouts available in SmartArt will be restructured to accommodate your timeline and some will need some tweaking. Once this slide has been completed, you can simply duplicate slide by following the steps below:
- Right-click it on the slide
- Select Duplicate Slide
- and Repeat the steps above for the next month/year of your timeline.
