Since moving to a subscription-based model via Office 365, Microsoft has unveiled a number of handy features for office users. Once such feature is the ability to insert 3D Models in Office applications. In this post we will show you how to use 3D Models in PowerPoint, Word, Excel and Outlook.
Inserting a 3D Model in an Office Application
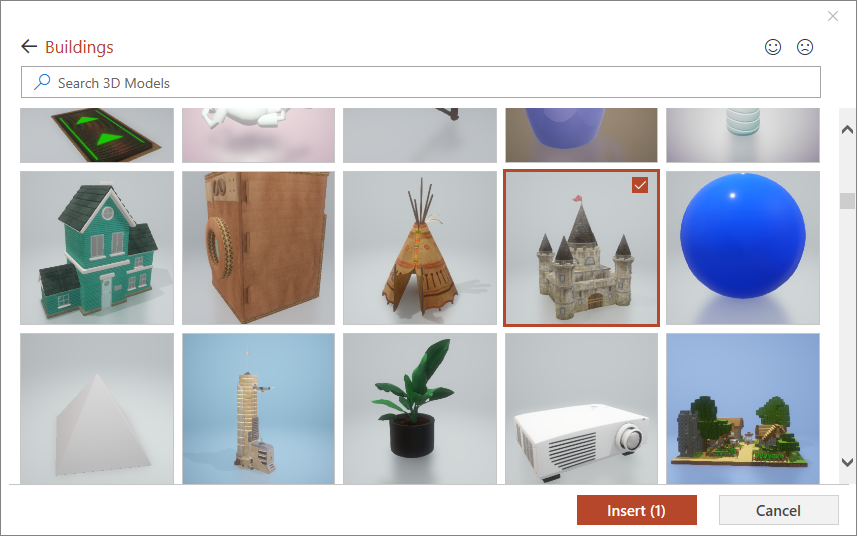
To insert 3D Models, go to Insert -> 3D Models in an Office application like PowerPoint, Word, Excel or Outlook. You can either insert a 3D model via file from your computer or pick a model from an online source.
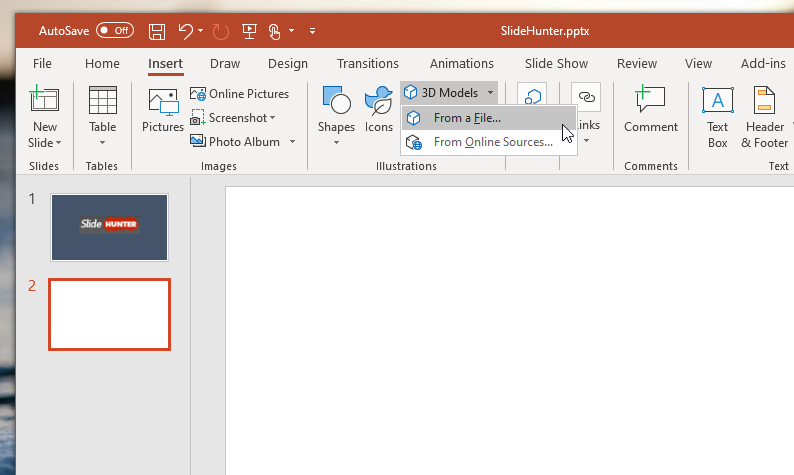
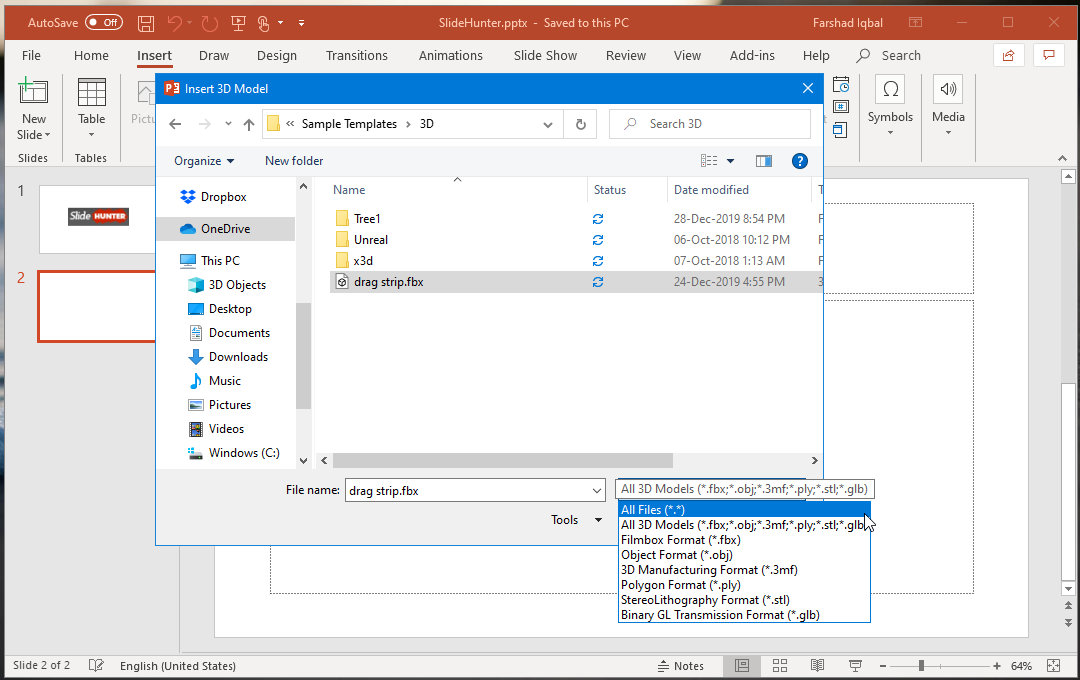
Import a Model from Your Computer
The supported file formats include; FBX, OBJ, 3MF, PLY, GLB and STL. You can pick a file from a supported file format from your Windows or Mac computer to insert in your presentation, spreadsheet, document or email.
Import 3D Model from Online Sources
If you’re importing 3D models from online sources, you can pick and choose models from various categories or search from them according to relevant keywords.
Examples of 3D Models Imported in PowerPoint, Word, Excel and Outlook
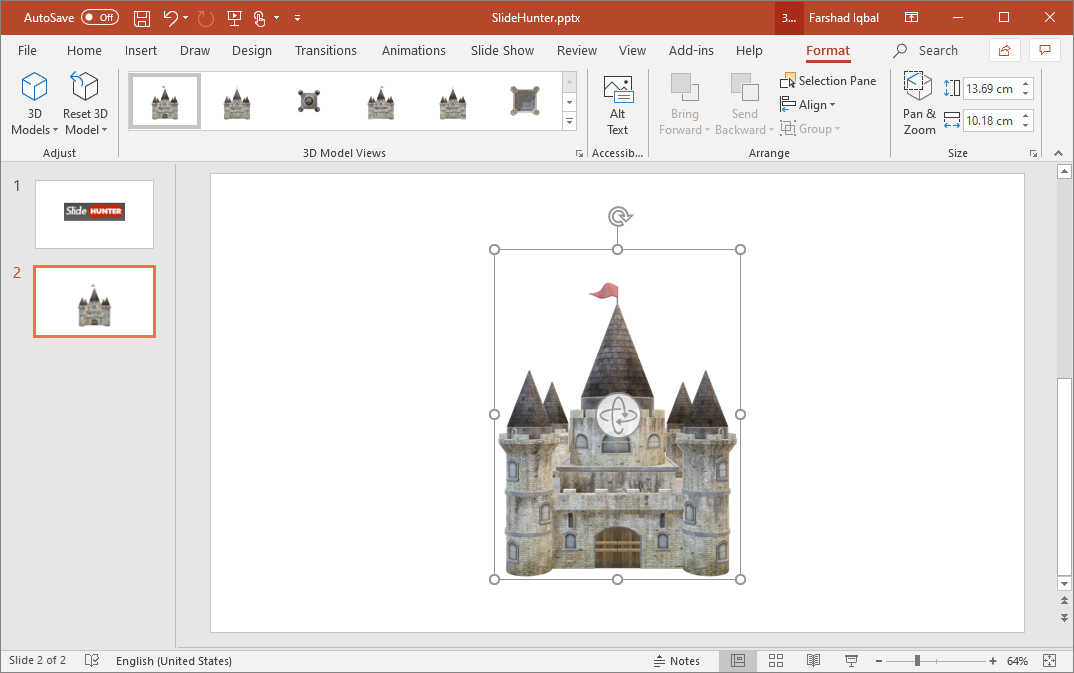
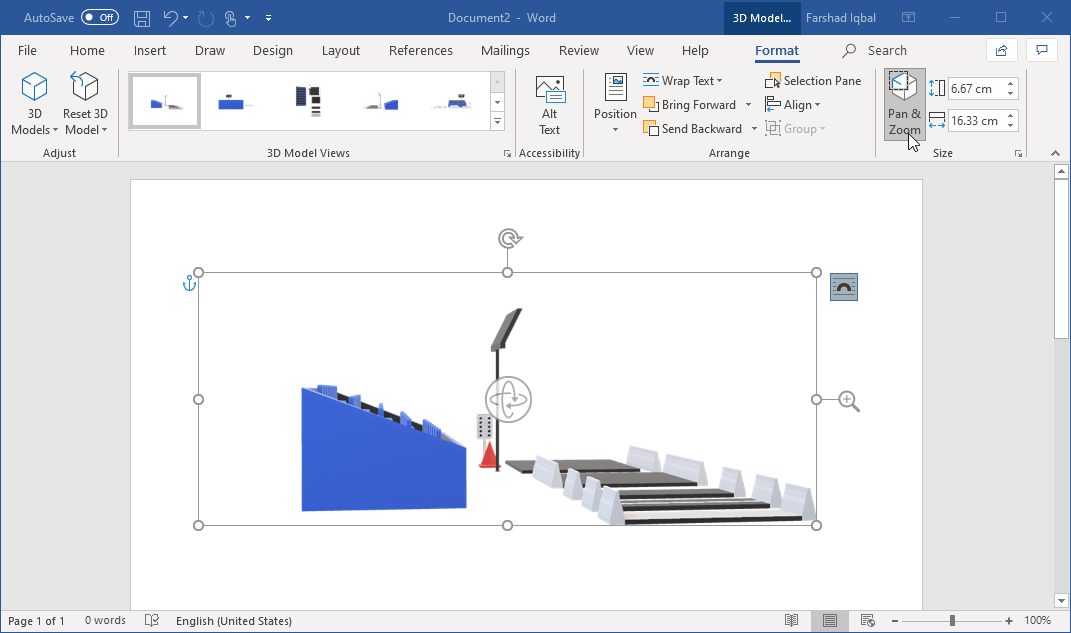
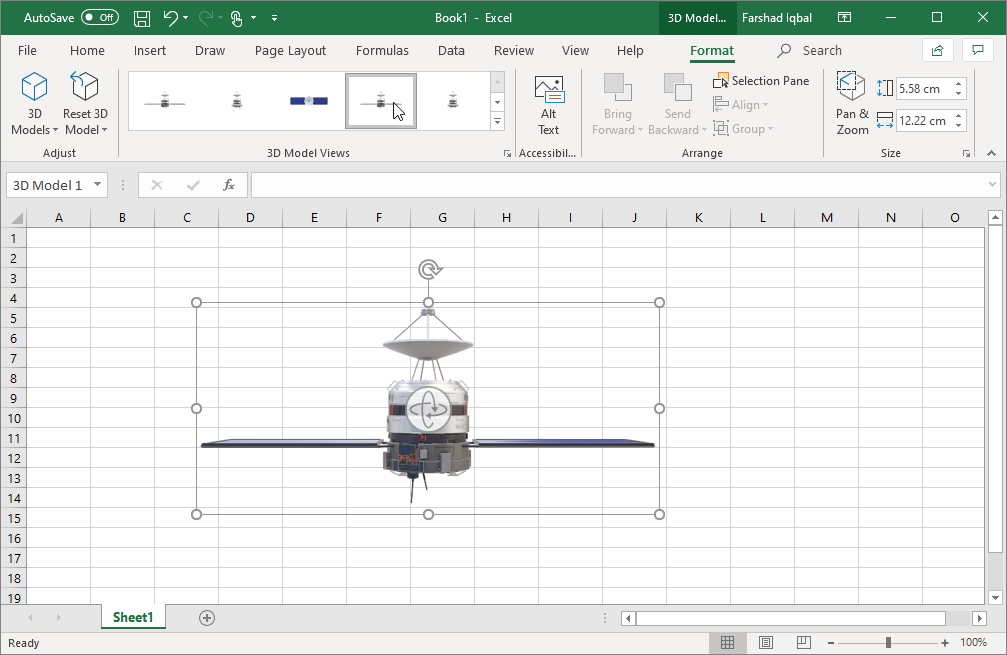
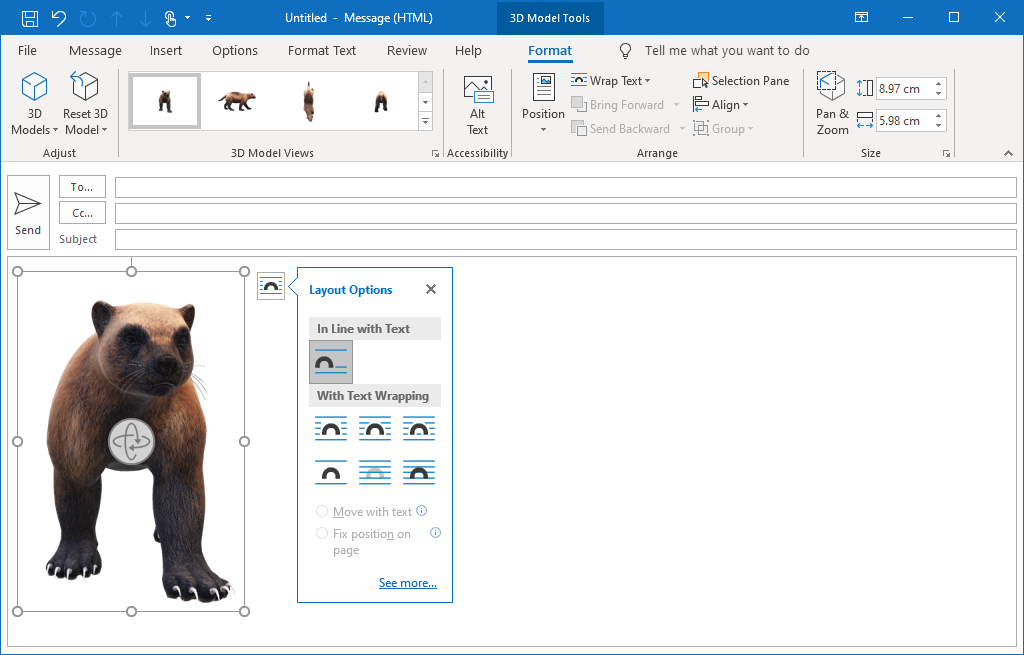
Once you have selected the model, click Insert to add it. This will add the 3D model, which you can edit by using the various editing options that will show up via 3D Model Tools in Microsoft Office. For example, you can rotate the 3D model or tilt it in any direction. The following images show 3D models that were inserted in PowerPoint, Word, Excel and Outlook.
Example of 3D Model Imported in PowerPoint
Example of 3D Model Imported in Word
Example of 3D Model Imported in Excel
Example of 3D Model Imported in Outlook
By inserting 3D models in your Office files, you can create more robust presentations, documents, spreadsheets and share ideas via email by adding 3 dimensional illustrations. Microsoft has made the process easy for Office 365 subscribers. You will require a Mac or Windows based operating system with Office 365 installed to use 3D models in Office applications.
