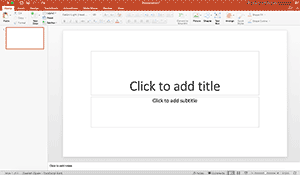
A brochure is an effective means to provide information about your company’s products and services. Microsoft Publisher’s brochure feature allows you to design a customized brochure with text and graphics using similar commands as Word. Save money by creating your company’s marketing materials with Microsoft Publisher. When you begin with a Brochure Wizard, you don’t have to worry about setting up or designing your publication. All you have to do is select the brochure design that you want and then replace the placeholder text and pictures with your own text and pictures.
Select a brochure design. Click File on the main menu and then New to open the Catalog Window. Click the Brochures option on the Wizards menu, select the desired design from the options.
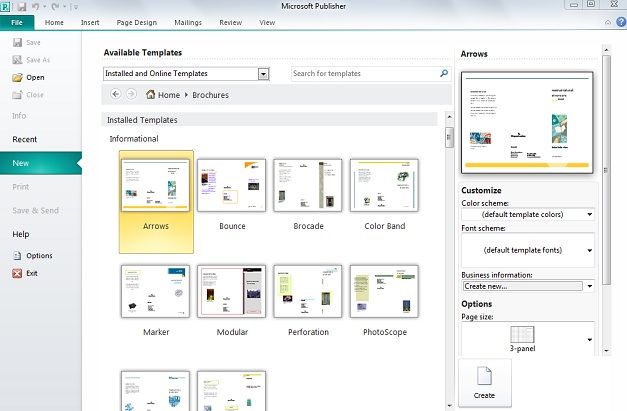
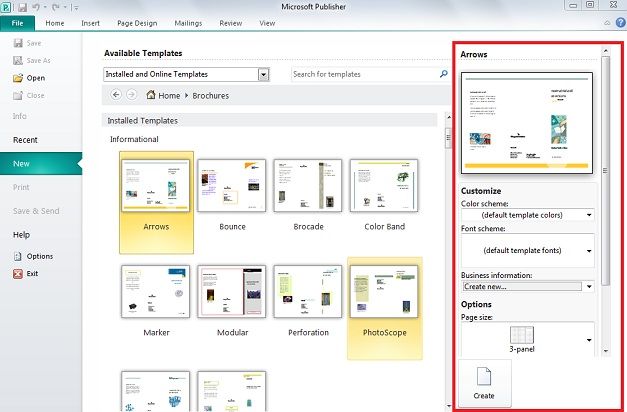
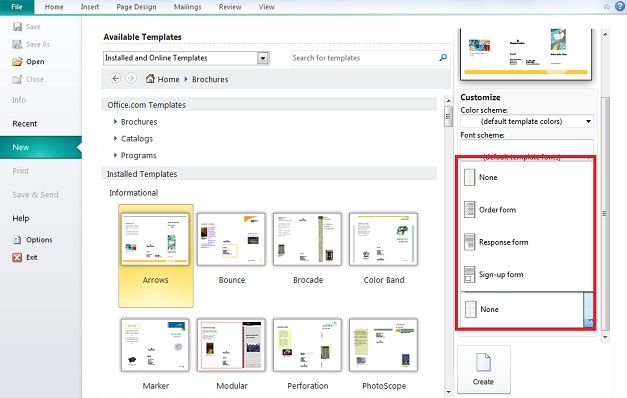
You will find brochures of different categories. In the right panel there is a quick edit box to edit color scheme, font scheme, insert business information beforehand, page numbers, and even add a form before starting. Enter your text, Place the mouse inside the text box and click once. Type the text or cut and paste from a Word document. Format the font style, size and appearance. Change the size of a text box by moving the mouse over the border until the word Resize appears. Click and drag the border to the desired size.
The forms included are an order form, sign-up form, and a response form.
Once you press Create, there are two Pages to the left of the vertical margin ruler.
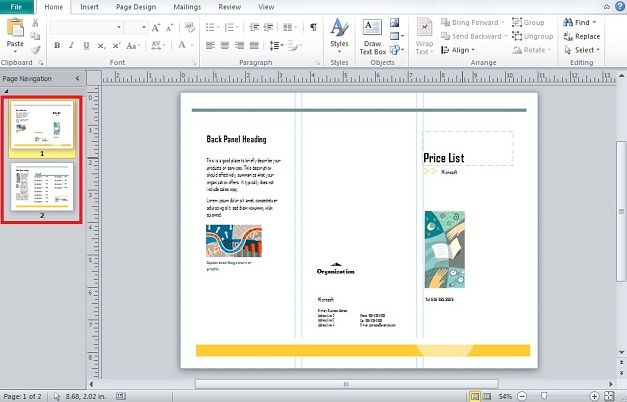
The first of the pages show the front page of the brochure prior to publishing. The second of the two pages will show the back of the brochure prior to publishing. In this case including whatever form you added. You can also select all of a panel via dragging all of the contents, copy, and paste them in a different panel if needed.
Once you have edited everything to your liking with logos and details, it’s time to publish your brochure. Finalize and proofread the brochure. Print one copy of the document on paper and test the fold to ensure the text lines up properly. Go to File and Print. Click change Print ,One Sided (under Useable Paper Sizes) to Manual 2 Sided Print and to make sure the page is set to a Usable Paper Size of Letter 8.5×11.
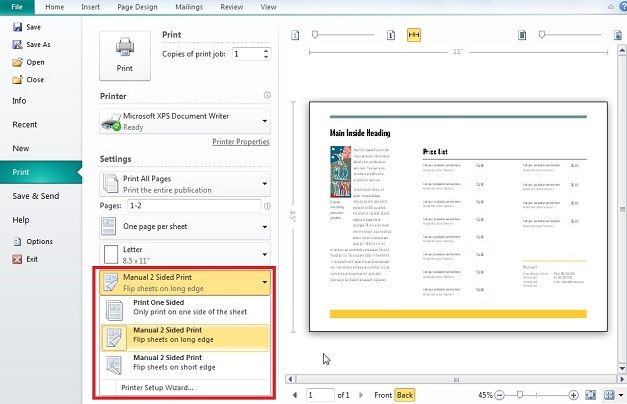
In this example Manual 2 Sided Print is selected to print brochure on both sides. Take notice of how you insert the paper into the printer if you have to flip the paper to print both sides. After printing your brochure out, it is published. All that is left is to fold it; there are only so many ways to fold your brochure if you have the face page showing, so it is hard to get wrong.