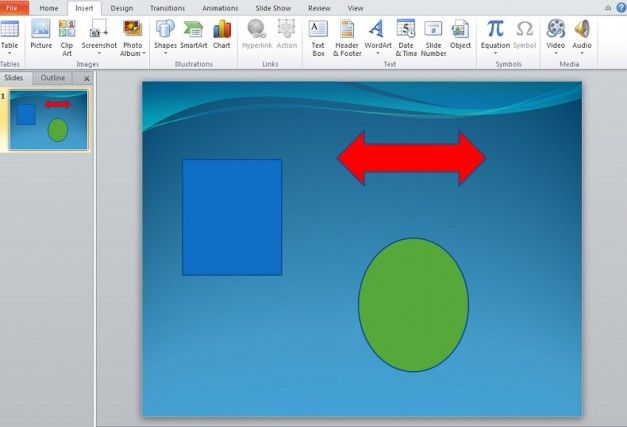
In this tutorial, we will be exploring adding a 3D element to a shape as well as 3D rotation. Now we touched on it in passing in the PowerPoint Layout tutorial, however this time we will be going into more depth. For this tutorial we’ll be using two basic shapes and one fairly unique one. These shapes can be found by clicking on the Insert tab and then clicking on Shapes. You’ll also notice shapes with that have a 3D element to them already such as the cube or the cylinder. Those can be used as well.
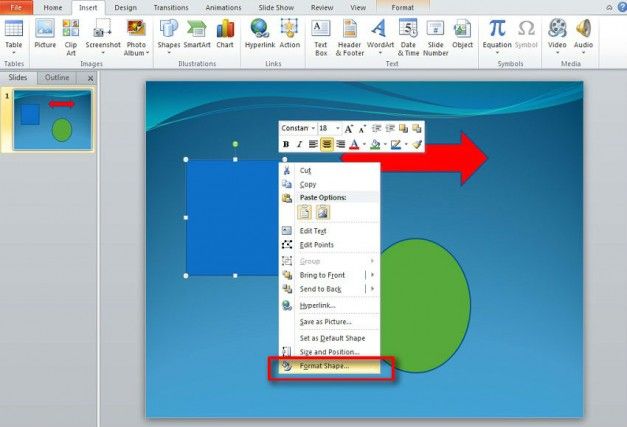
To start, right click on one of the shapes and click on Format Shapes.
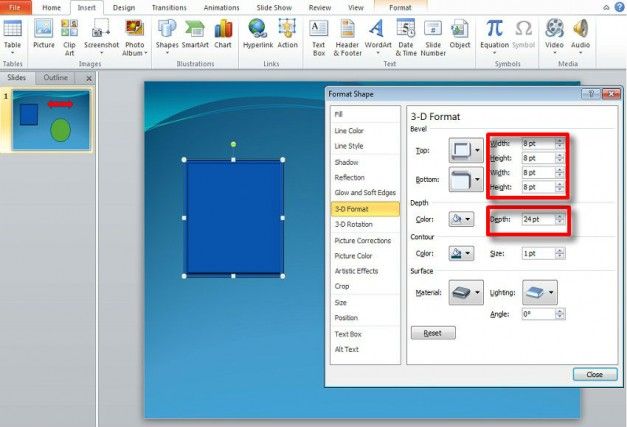
What we want to do here is add a bevel to the shapes so that they pop forward a bit. With Format Shapes open, go to 3D Format. The main two options to focus on here are Top, Bottom, and Depth.
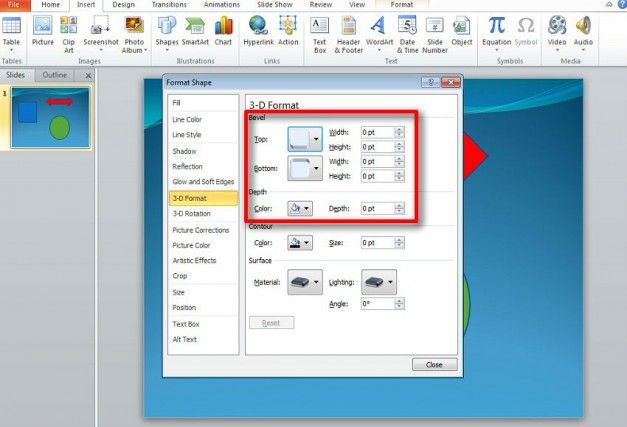
Feel free to select the bevels you want for the top and bottom of the shape. The measurements could be left at default unless you want the bevels to stick out more.
What we really want to observe is depth. For significant you can double, triple, or quadruple it by the width or height of the Bevels. For example, if the Bevels’ height and width are 6, make the depth 12, 18, or 24 to get noticeable depth.
Do the same for any other shapes you may have on the active slide. While you’re at it, experiment with some of the material and lighting types.
Now you’ve just added a 3D element to the shapes. Although they’re on a 2D plane, you will notice that they have to depth and feature to them. Next we’ll put these shapes on a 3D plane.

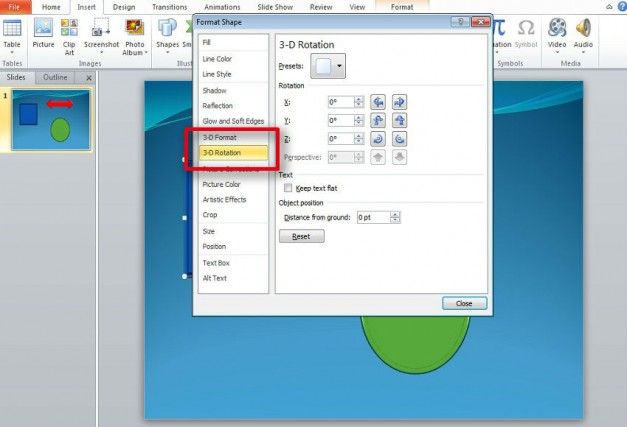
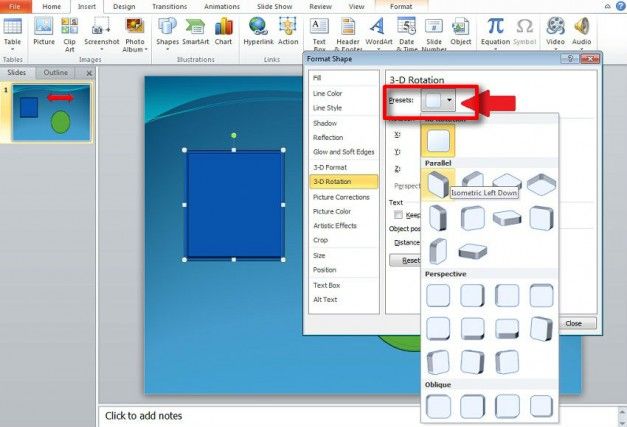
Right click on a shape and click on 3D Rotation.

What 3D Rotation does is turn the shape on a 3D space, bring it out of 2D, flat space. This allows for you to see more than just the face side of a shape. The easiest way to do this is by using a preset which has all of the main angles you and sides you might wish to use.
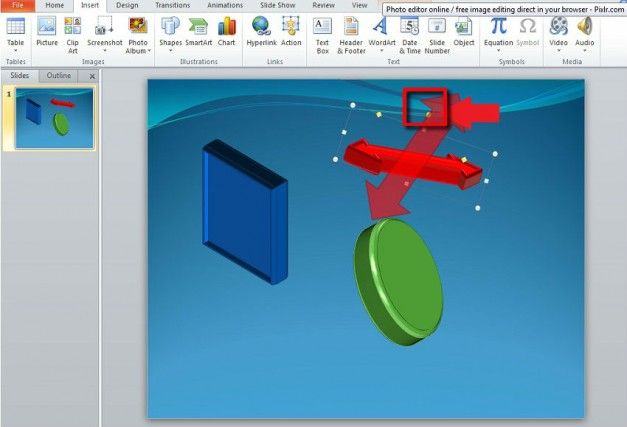
In the above image notice that the actual depth of the shape is shown once it is put in 3D space.
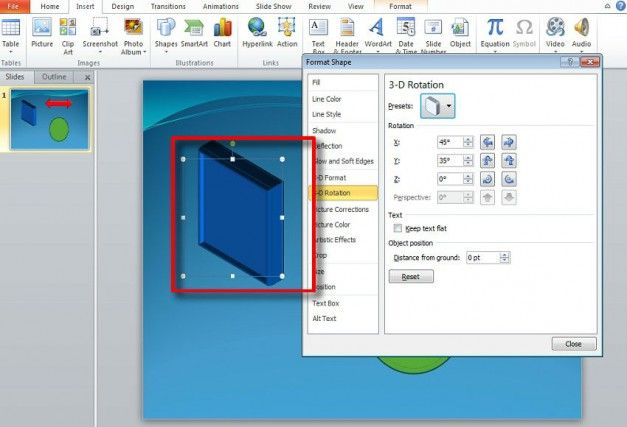
Also, below Presets is Rotation. It serves the exact same purpose, only it allows you to move the image from 2D to 3D manually. You will simply need to tweak the X and Y axis until the shape is where you want it.
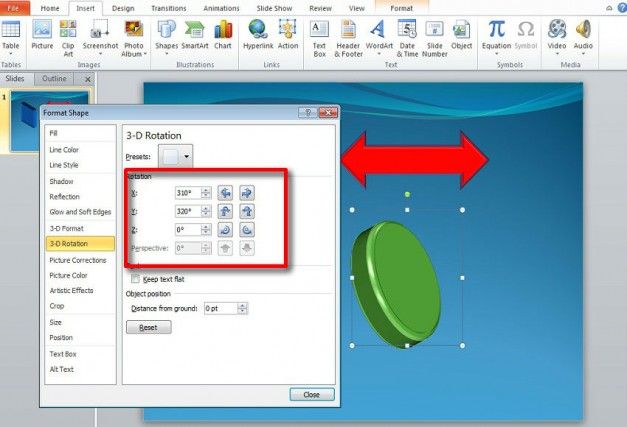
Note that you can turn the 3D shape on different axes within the actual slide by using the rotation handle.
While all these steps were shown individually, they can all be done at once as 3D Format and 3D Rotation are both in the same area.