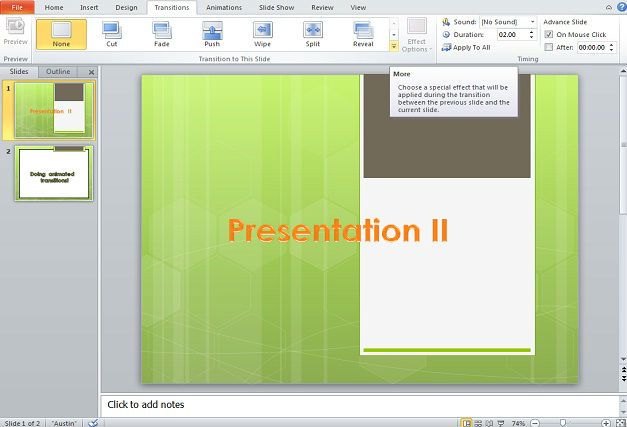
In this tutorial we will explore using slide animation transitions for your project. Animation transitions are used when your PowerPoint project moves from one slide to the next.
First select the Transitions tab. From the start you’ll see several of the most used transitions. You can select one of these or press the drop down arrow in the bottom right next to Effect Options.
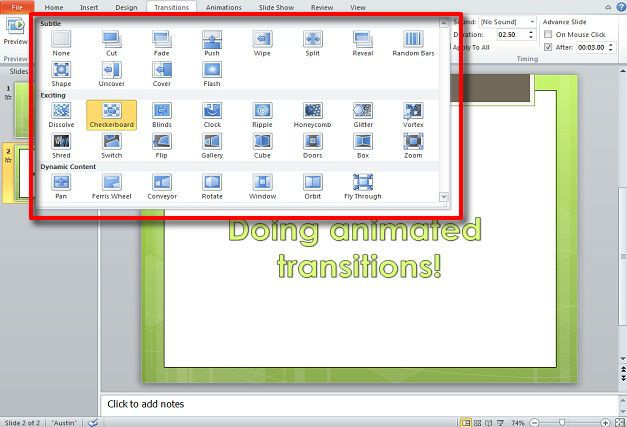
Doing so will reveal many more animation transition options.
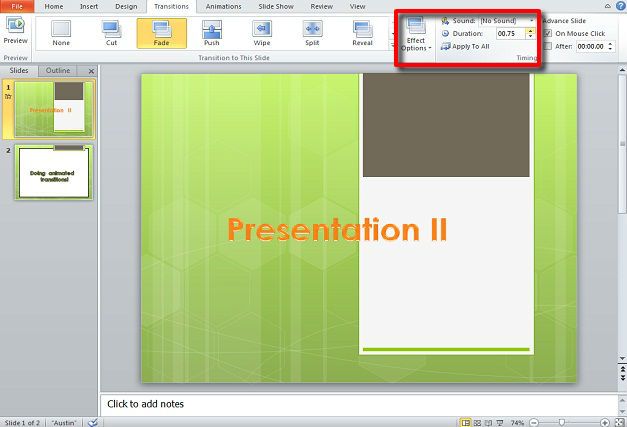
Next you can edit the Effect Options which can alter the way the animation occurs for the transition. For instance whether it fades in smoothly or from black or if the animation will run from the top, bottom, left, or right. Note that the effect option available depends on the animation transition.
Next to Effect Options you will find options to add sound to the transition, apply the animation to the whole project, or the Duration. The important one here is the Duration which can determine how long the animation will take to finish—or rather, how quickly the animation transition occurs.
Under Advance Slide, you can edit when the transition will activate. The longer the time, the longer it will stay on the current transition. Also, deselecting On Mouse Click will allow for the project to move on to the next slide automatically according to the After: X time.
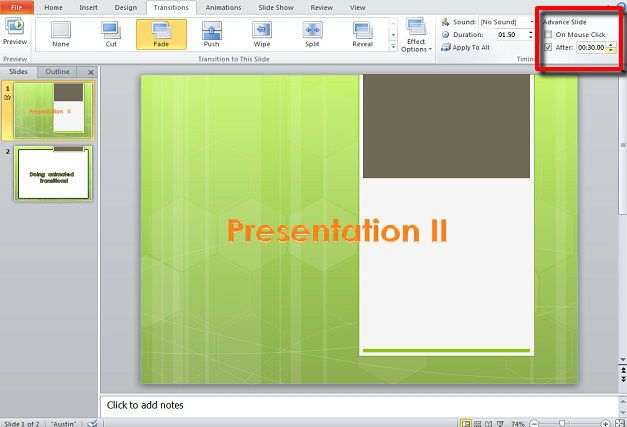
The animation will move on to the next slide according depending on if you select On Mouse Click or a specific time.

You will need to test and experiment with the times for the transitions to animate if you are using audio—such as narration—to make sure the animations run properly with the pace of the audio. If there is no audio used or if you will be personally narrating the slide, then edit the time or accordingly or use On Click.