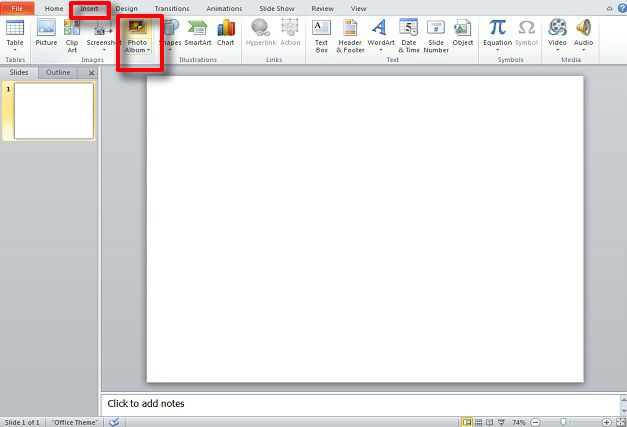
In this quick tutorial, we will make a photo album in PowerPoint. Making a photo album is very simple and straight forward. To start, it’s suggested that you have pictures ready. First, we’ll go the Insert Tab where we can find Photo Album under the Images section.
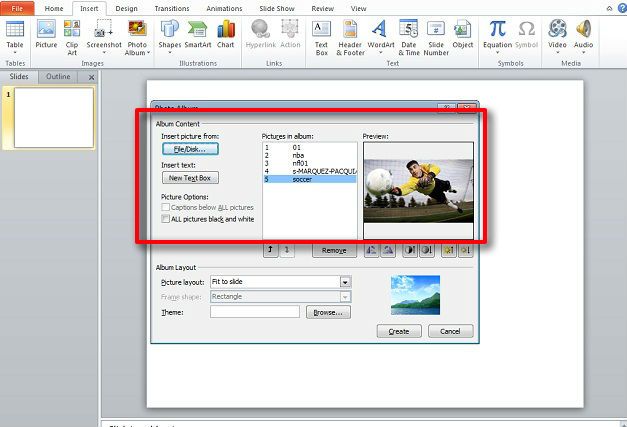
Next, click on Photo Album to open the window for editing and making a Photo Album. In the Album Content section, you can insert pictures from a File or Disk and insert text boxes and the like.
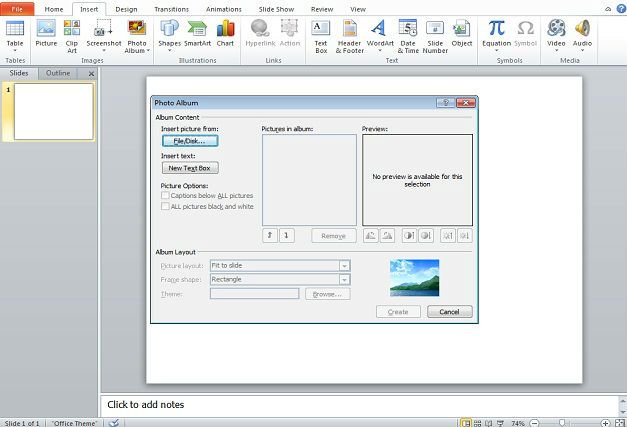
When you insert pictures, you will find them in the Pictures in Album portion. You can select one or several pictures by their name and reorder them if you wish.
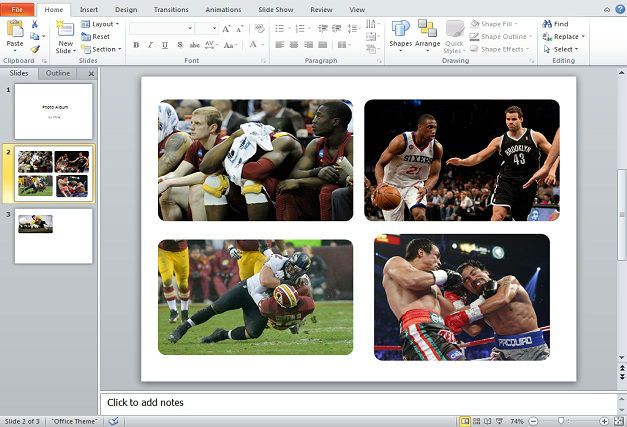
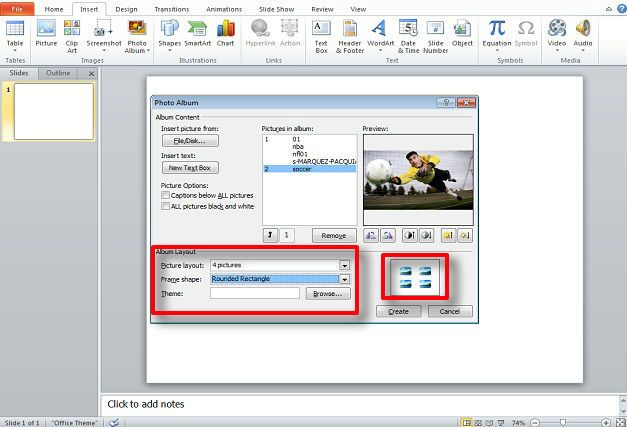
Next in the Album Layout section, you can set up your Photo Album however you wish. The main feature to focus on is Page Layout. You can set up pictures to take up a whole slide, several pictures to a slide, and several pictures to a slide with a text caption that you can edit.
Once you select the layout, you can select the frame shape. All of this is displayed to the right of the options and will show you a sample of how the layout will appear.
Finally, you can edit your page theme and add text, shapes, titles, etc. to your Photo Album.